In addition to the Handi-Tread(s) and included screws, you will need:
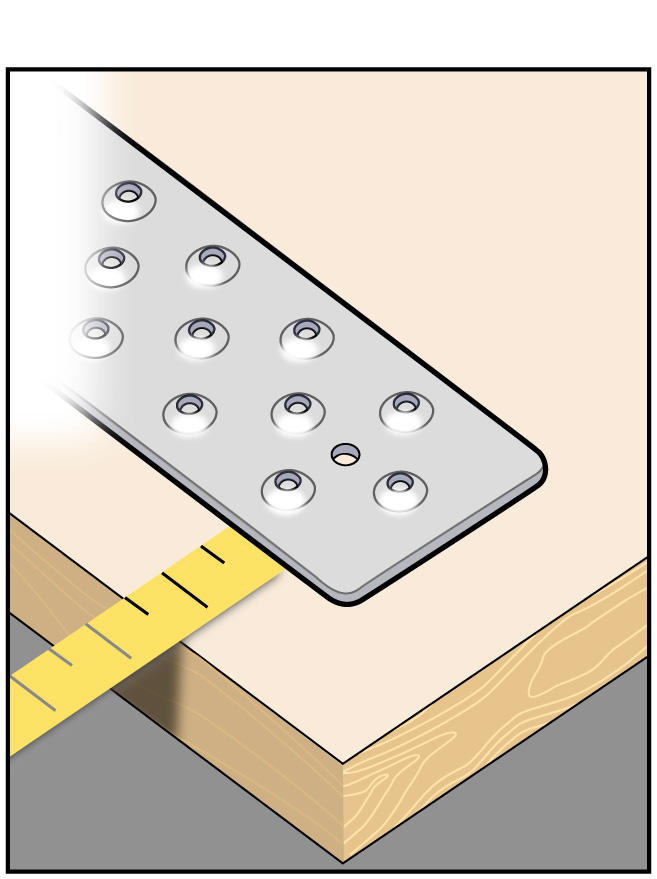
● A tape measure
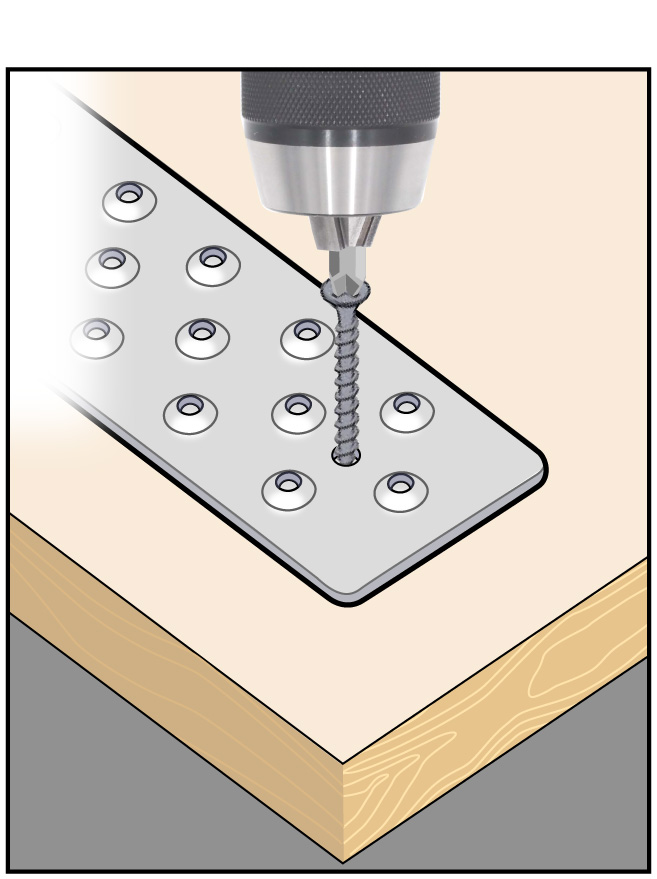
● A power drill or a screwdriver

INSTALLATION STEP BY STEP:
1. Align your Handi-Tread 3/4” from the front edge of the stair tread and centered in the step.
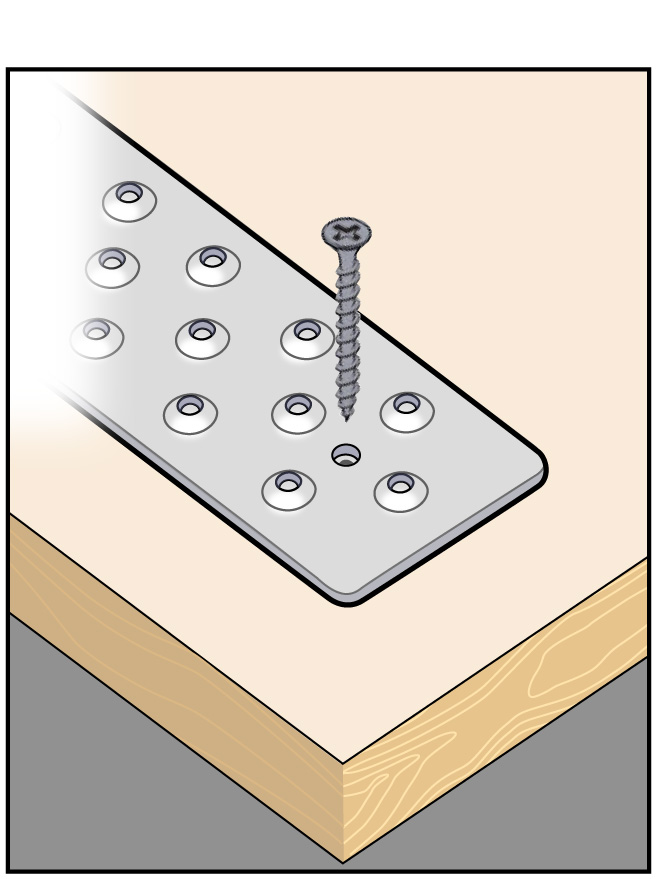
2. Starting with the middle screw holes, drill your screws into the stair working your way out from the center. Make sure that you are drilling perpendicular to the surface and that you use all of the screw holes provided. Installation is complete once all screws have been drilled into place.
Note that the screw holes are not raised; DO NOT use the raised traction bumps for your screw placement.
3. That’s it! Your Handi-Tread is installed. There’s no additional maintenance necessary.


Installing the Handi-Treads is just that simple. You can download a pdf copy of the installation instructions here.
Should you have any questions, please call us at 877-328-7389 .
Copyright 2025 © HandiTreads | This site is protected by reCAPTCHA and the Google Privacy Policy and Terms of Service apply.